
Mac OS에서 ESP32 개발 환경 설정은 다음의 링크를 참고한다.
Tool chain 설정
pip와 pyserial을 설치- 이 과정중에 dependency가 있는 라이브러리 설치는 sudo easy_install xxx 형태로 설치한다.
sudo easy_install pip
brew install cmake ninja dfu-util
다음은 툴체인을 다운로드하고, 설치를 하는 과정임
mkdir -p ~/esp
cd ~/esp
git clone --recursive https://github.com/espressif/esp-idf.git
cd ~/esp/esp-idf
./install.sh
환경설정
. $HOME/esp/esp-idf/export.sh
다음의 내용을 .bash_profile에 추가한 다음에 esp 개발시 터미널에서 get_idf를 실행하면 된다.
alias get_idf=’. $HOME/esp/esp-idf/export.sh’
추후에 리모트 깃의 내용을 업데이트 하려면 다음과 같이 한다.
cd ~/esp/esp-idf
git pull
git submodule update --init --recursive
프로젝트 확인
cd ~/esp
cp -r $IDF_PATH/examples/get-started/hello_world .
설정
cd ~/esp/hello_world
idf.py set-target esp32
idf.py menuconfig
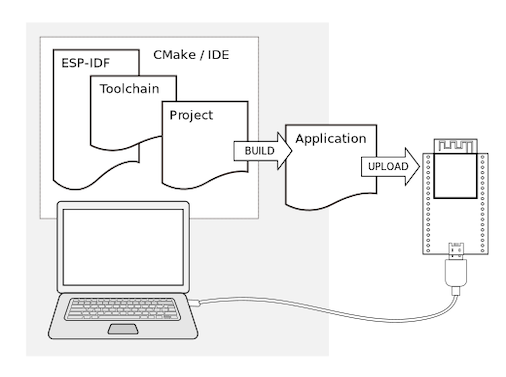
빌드 및 다운로드
idf.py build
idf.py -p PORT flash monitor. // 빌드와 모니터링을 동시에

Monitor
make monitor
To exit the monitor use shortcut Ctrl+]


